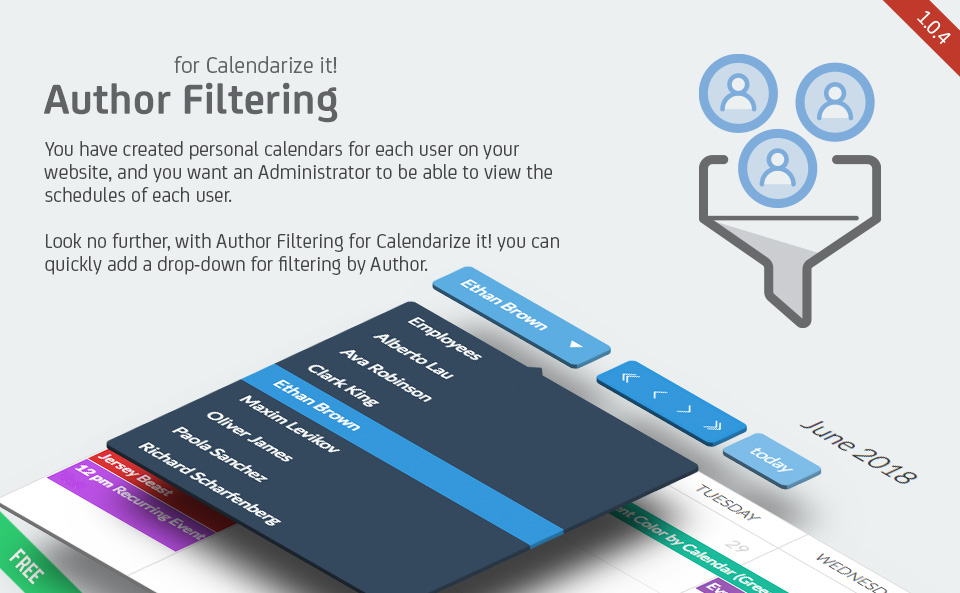
One of the most popular features in Calendarize it! is the ability to create personal calendars for each user on your website quickly.
This can be done by adding the attribute author=”current_user” to the shortcode.
[calendarizeit author="current_user" personal_calendar_message="Sorry, but you need to login in order to view your personal calendar"]
Many customers have subsequently asked about how they can give Administrator access to individual users’ calendars. This is now easier than ever with this new add-on. Please notice that you must be logged into the website in order to view the Author drop-down filter.
Username: Author
Password: TryMeNow
Get Started with Author Filtering for Calendarize it!
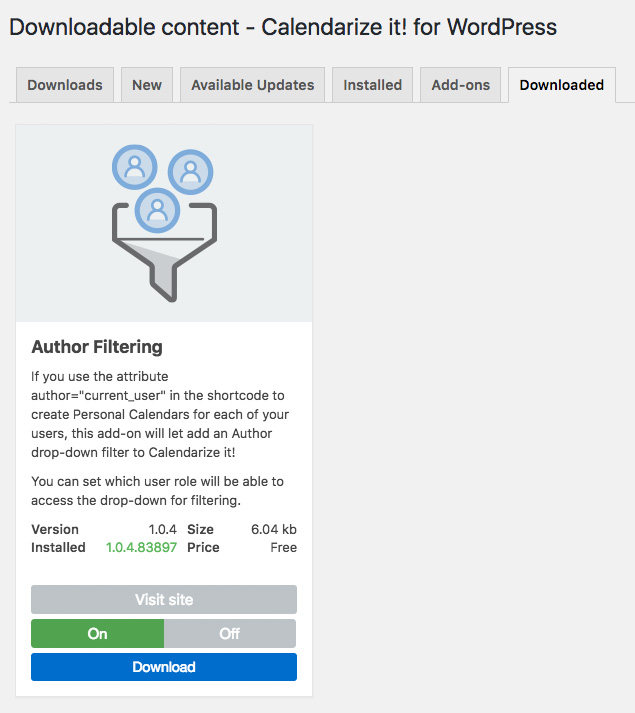
You can access our Premium paid and Free add-ons from the Downloads menu in Calendarize it! on the website where you have installed Calendarize it!
Make sure you have entered the Item Purchase Code from Codecanyon for Calendarize it! in the Options > License tab.
Use the following attributes to add the Author filter to Calendarize it!
- rhcadd_label: This attribute is used to set a specific label for your drop-down. In our example, we have called it Employees.
- rhcadd_author_role: This attribute is used to specify which users from different user roles to include in the drop-down. By default, all user roles will be shown if you do not specify one or more.
In the Options > Feature Access tab, you can specify which user roles that should be able to view the Author Filtering drop-down. You can also add the capability rhc_author_filter to an individual user if you have Role and Capability Manager (like the one we have in our White Label Branding for WordPress)
The remaining attributes are some of the defaults that can be used with the shortcode.
- defaultview: This attribute is used to set the default view that is loaded. If this is not used in the shortcode the default view set in the Options > Calendarize Shortcode will be used. You can use the following values: month, agendaWeek, basicWeek, agendaDay, basicDay, rhc_event, rhc_grid (requires add-on), rhc_year (requires add-on).
- header_left: This attribute is used to set the left side of the navigation.
- header_center: This attribute is used to set the center header.
- header_right: This attribute is used to set the right side of the navigation.
Please refer to the post in the knowledge base, which explains how you can configure the navigation. - feed: This attribute is used to either include or exclude feeds from External Event Sources. By default, all events are shown on the calendar. By using the value “0” external feeds are excluded and only events created in Calendarize it! are shown. By using the value “1” only events from feeds using External Event Sources are shown.
[calendarizeit defaultview="month" rhcadd_label="Employees" header_left="btn_author_filter prevYear,prev,next,nextYear today" rhcadd_author_role="Administrator,Editor,Author,Contributor" feed="0"]
How to download Free Premium Add-ons
We regularly update our plugins for continuous improvement and bug fixes, and we sincerely appreciate your support for our plugins. We want to thank our loyal customers who keep supporting us.
We are happy to introduce Free Premium Add-ons to all customers with a valid License Certificate and Item Purchase Code.
Client satisfaction is our ultimate goal, and we strive for excellence on each and every project. If you are not happy with your purchase or there is something you can’t figure out, do not hesitate to contact us through our Help Center.
Changelog
Version 1.0.4.83897 – June 1, 2018
- First public release